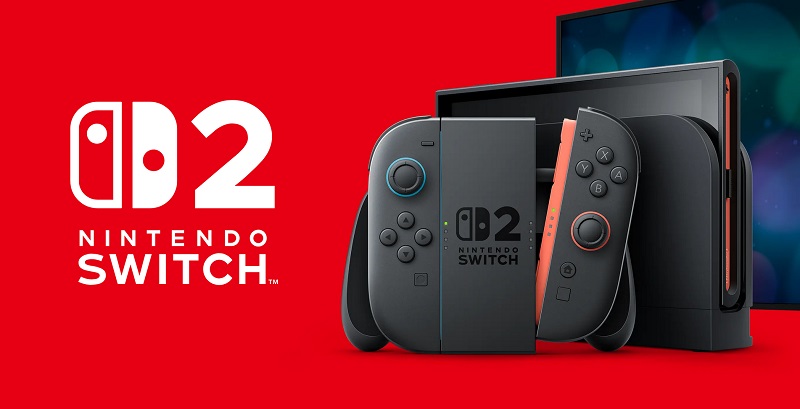
Nintendo Switch: details on System Transfer to Nintendo Switch 2, new option to transfer via web server added
With the release of the Nintendo Switch 2 fast approaching, Nintendo has released a pretty hefty System Update for the Nintendo Switch. This update adds several features related to the Nintendo Switch 2, such as Virtual Game Cards, GameShare, and also System Transfer to the new console. And it’s the latter we’re going to talk about in this post!
System Transfer from a Nintendo Switch to a Nintendo Switch 2 works pretty much the same way as System Transfers between two Nintendo Switch consoles, with one key difference: you can choose to do the transfer via a web server.
It works that way: you upload the data to the server (the data on the original console is wiped out at the same time, effectively reinitialising it to factory settings), and then, when you get your Nintendo Switch 2, you connect to the internet and download the data to it. Yes, it’s that simple!
This option is particularly interesting for those who are planning to take advantage of the trade-in offers available at certain retailers to buy a Nintendo Switch 2, as you don’t need access to the original console to initiate the transfer. In fact, you don’t even need to own a Nintendo Switch 2 console to do so!
However, do keep in mind that data will only be stored on the web server for up to a year (you can check out how much time you have left on this page). But since, as mentioned above, the data on the original Nintendo Switch is immediately wiped out when you initiate the transfer, it’s unlikely anyone is going to just upload their data to the server and then forget all about it for an entire year.
Another thing to keep in mind about System Transfer via the internet is that you need a (free) Nintendo Account to use that feature. And if you change your mind, you can cancel it at any time (as long as it’s within the Download Deadline) and restore the data to the original Nintendo Switch console.
Also, if you have several users on your console, initiating the System Transfer will transfer ALL the users at the same time. You can’t transfer only select users: it’s all or nothing.
If you’re not planning to sell your Nintendo Switch console, then you might want to perform the System Transfer via local communication. You still need to connect to the internet, and the two consoles need to be in close proximity for the transfer to occur. The procedure is the same as for between two Nintendo Switch consoles.
Now, you might be wondering what is effectively transferred when you initiate a System Transfer. Here’s all the details:
| Transferable? | |
|---|---|
| Digital Software | YES (will be automatically downloaded onto the target Nintendo Switch 2 console after the system transfer and inital console set up is complete) |
| All Users | YES |
| Save Data | YES |
| Screenshots and Videos | YES |
| System Settings | YES |
| News data | NO |
| Bluetooth audio settings | NO |
| Time, time zone, region, language | NO (configured manually when you first start the console) |
And here’s the step by step guide to use System Transfer via a web server:
- Select Settings from the HOME Menu.
- Select System.
- Select System Transfer to Nintendo Switch 2.
- Select Next.
- Select OK.
- Select I don’t have a Nintendo Switch 2 yet!.
- Review the on-screen explanation and click Next when prompted.
- Take note of the “Download Deadline” and ensure you cancel or complete the system transfer before then to keep your data.
- Select Next on the pop-up when ready to proceed.
- You may need to enter in a Verification code for security.
- Select Upload Data to perform the system transfer to the server.
- Select OK once the upload is complete.
- Review the system transfer information.
- Select OK.
- Select Start Initialization. The Nintendo Switch will be initialized and data on the console for all users will be deleted.
And here’s the step by step guide to cancel such a System Transfer:
- Power on the Nintendo Switch console.
- While the console is in the initial startup sequence, follow prompts until on the “Select Time Zone” screen.
- Press the Left or Right Stick and the + or – Button on the Joy-Con at the same time.
- Sign in with the Nintendo Account that set up the server system transfer.
- Follow the on screen prompts to complete the system transfer data being downloaded.
- Original system settings will be restored as much as possible.
- Virtual Game Card console registrations, digital software downloads, and re-linking Parental Controls with the app will need to be completed separately, after completing set up.
Source: Nintendo

